
Dill
Anethum graveolens
Adds a fresh, tangy kick to your favorite dishes.- Good source of vitamin C, manganese, iron and flavonoids
- Aids digestion, reduces bloating and supports calm restful sleep
- Essential oils provide antibacterial and antioxidant therapeutic properties
certified organic
Pays-Bas
Plant profile

Growing calendar

Growing tips
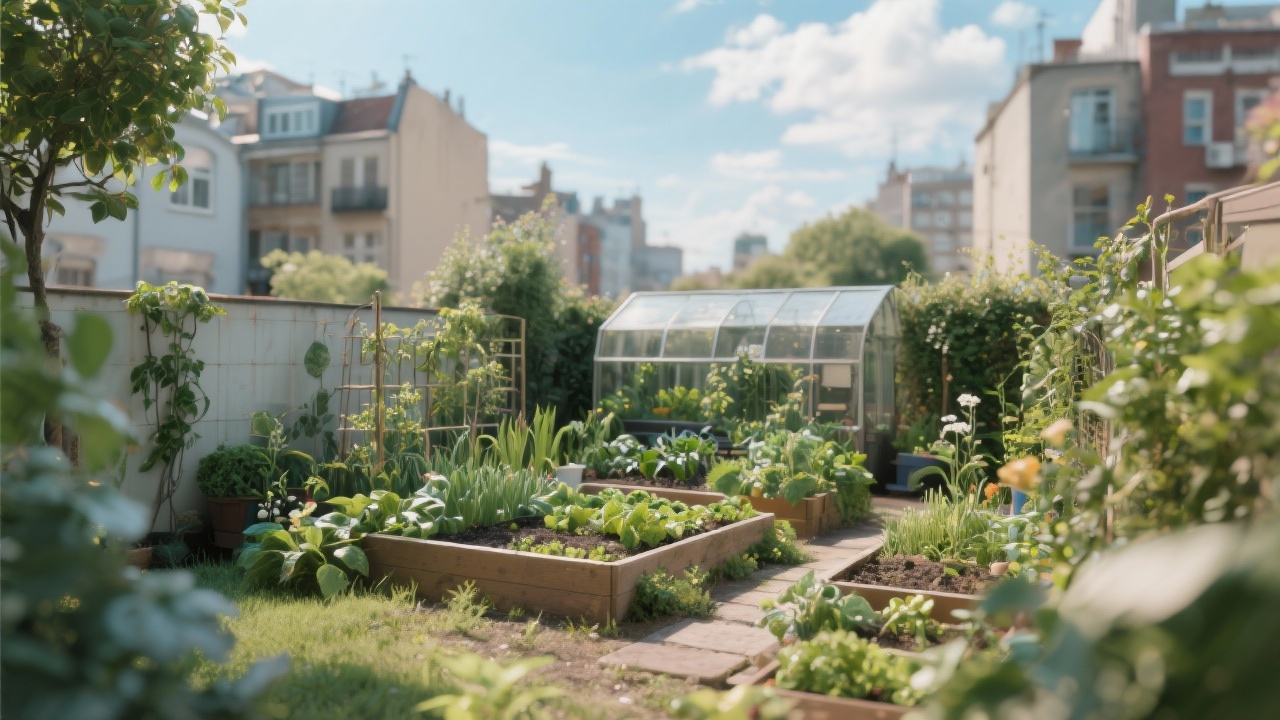
Conditions and Preparation for Planting Dill
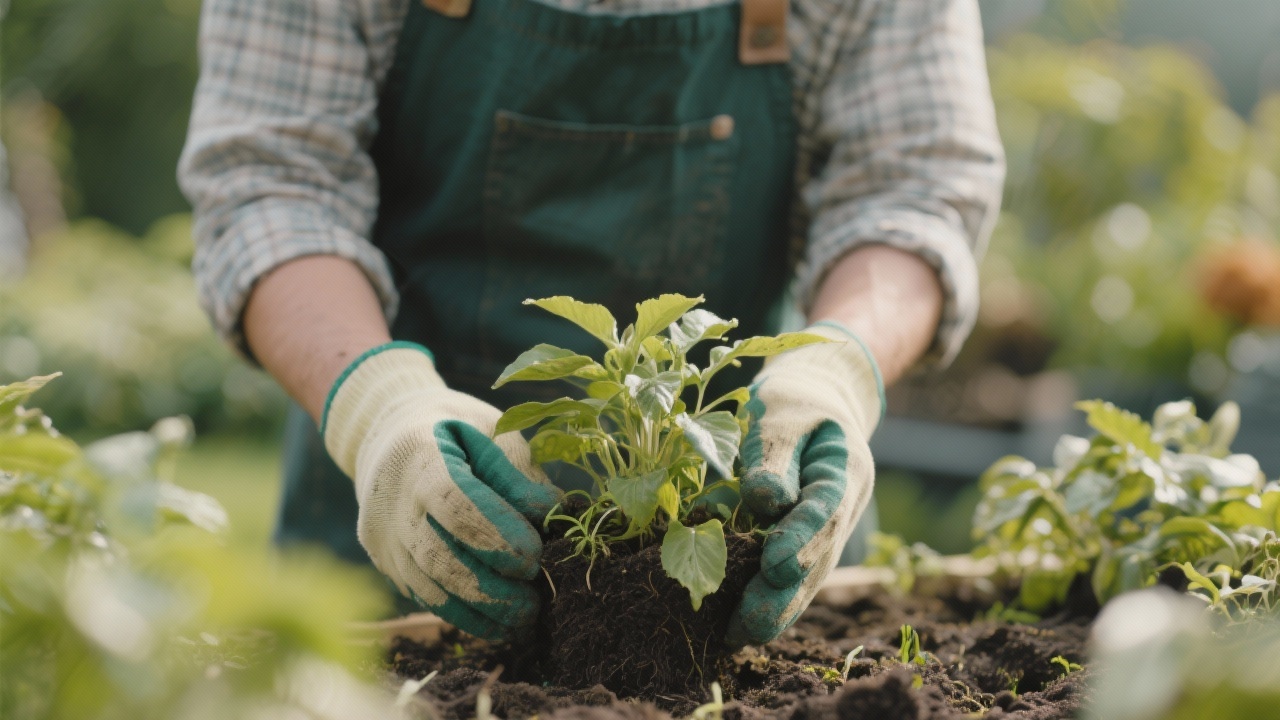
Successful establishment of dill begins in the spring, once all risk of frost has passed and the soil has warmed to at least 10-12°C. For optimal growth in your vegetable garden, choose a sunny location and prepare the soil by thoroughly weeding and loosening it to a good depth. Incorporating well-matured compost or an enriched planting mix will ensure a fertile and well-drained medium, crucial for a healthy root system. Before moving them to their final spot, it is essential to acclimatize your young plants over 7 to 10 days by gradually exposing them to outdoor conditions, which prevents transplant shock. An hour before planting, water the root ball thoroughly. If the roots are compacted, gently tease them apart to encourage their expansion into the new soil.
Planting and Securing Your Seedlings
When planting your dill, dig a hole just large enough for the root ball and position the plant so that its collar, the point where the stem meets the roots, is level with the soil surface. Backfill the hole, then gently tamp the soil around the base to ensure good contact and eliminate air pockets. Water generously immediately after planting to help settle the seedling. For proper development and air circulation, maintain a final spacing of approximately 20-25 cm between plants and 30 cm between rows. To complete the installation, apply a layer of organic mulch, such as straw or fine wood chips, around the base. This will help retain soil moisture and significantly reduce weed competition, giving your dill a strong start.
Key takeaway
- Temperature : 15–20°C
- Humidity : Humidité modérée
- Light : Plein soleil
- Transplanting : 3–4 feuilles
Conditions and Preparation for Planting Dill
For a strong start in your vegetable garden, plant dill seedlings when the threat of frost is entirely gone and consistent air temperatures are above 10°C, with soil temperatures ideally around 15-18°C. Prepare the planting site by removing all weeds and lightly loosening the soil to a depth of 20-25 cm. Enrich the bed with ample amounts of well-decomposed, mature compost or suitable enriched organic material, a crucial step in organic farming for promoting soil fertility and robust, successful regrowth. Acclimate young dill plants for 7 to 10 days by progressively exposing them to outdoor conditions, a process vital for minimizing transplant stress. Prior to planting, ensure the root ball is thoroughly hydrated by briefly soaking it in water, gently loosening any pot-bound roots if necessary.
Planting and Installing Dill Seedlings
To install your dill seedlings, plant each at the same depth as its nursery container, ensuring the plant's collar is level with the surrounding soil. Gently backfill with soil and lightly compact it around the base to eliminate air pockets. Form a small basin around each plant and water thoroughly to settle the soil and provide crucial initial hydration for the young vegetable plant. Space individual dill plants approximately 15-20 cm apart, with rows separated by 30-45 cm, to ensure adequate air circulation and growth. Immediately apply a light layer of organic mulch (e.g., straw, shredded leaves) around the newly installed plants. This crucial step conserves soil moisture, suppresses weeds, and maintains soil temperature, supporting vigorous, successful regrowth in your organic garden. In exposed locations, a temporary windbreak can offer valuable protection against strong winds for the young, delicate stems.
Key takeaway
- Depth: Collar level with surrounding soil
- Espacement: 15-20 cm between plants
- Watering: Thoroughly immediately; maintain consistent moisture
- Mulching/ Protection: Light organic mulch; temporary windbreak if exposed
Managing Plant Growth and Vigor
Effective plant maintenance for dill involves careful watering and targeted nutrition. Maintain consistent soil moisture, providing moderate volumes frequently enough to prevent water stress, especially during dry periods, but always avoid waterlogging which can lead to root issues. For sustainable fertilization, dill is a light feeder; apply dilute organic inputs like compost tea or balanced liquid feeds every 3-4 weeks once plants are established. Split applications ensure steady nutrient availability without overfeeding. Regular hoeing is crucial for weed control and to aerate the soil around the root zone. Apply and maintain a layer of mulching with organic material (e.g., straw, shredded leaves) to suppress weeds and conserve soil moisture. While staking is rarely needed, light **pinching** of early flower stalks can encourage bushier growth and extend the leafy production phase.
Health Protection and Environmental Balance
Proactive health monitoring is fundamental to a balanced **vegetable garden maintenance** strategy. Regularly inspect plants for early warning signs of **plant diseases** or garden pests, such as aphids or spider mites. Adopt principles of ecological gardening for integrated protection: prioritize prevention through healthy soil and proper spacing. Encourage beneficial insects that prey on pests, and only intervene with gentle, targeted solutions like horticultural soap sprays if pest populations exceed tolerable thresholds. Managing **climatic conditions** is also key; ensure good air circulation to mitigate humidity-related fungal problems, and be mindful that extreme heat can accelerate bolting. Incorporate crop rotation annually with non-umbelliferous plants to break pest and disease cycles, and consider intercropping with compatible plants to naturally deter pests and enhance overall garden resilience.
Key takeaway
- Type of soil : Light, well-drained sandy loam, pH 5.5-6.5, not too rich
- Care : Succession sow every 3 weeks, stake tall plants, minimal feeding needed
- Watering : Moderate moisture 1x/week, avoid overwatering, tolerates dry spells
- Prevention : Avoid planting near fennel (cross-pollination), good airflow, companion with brassicas
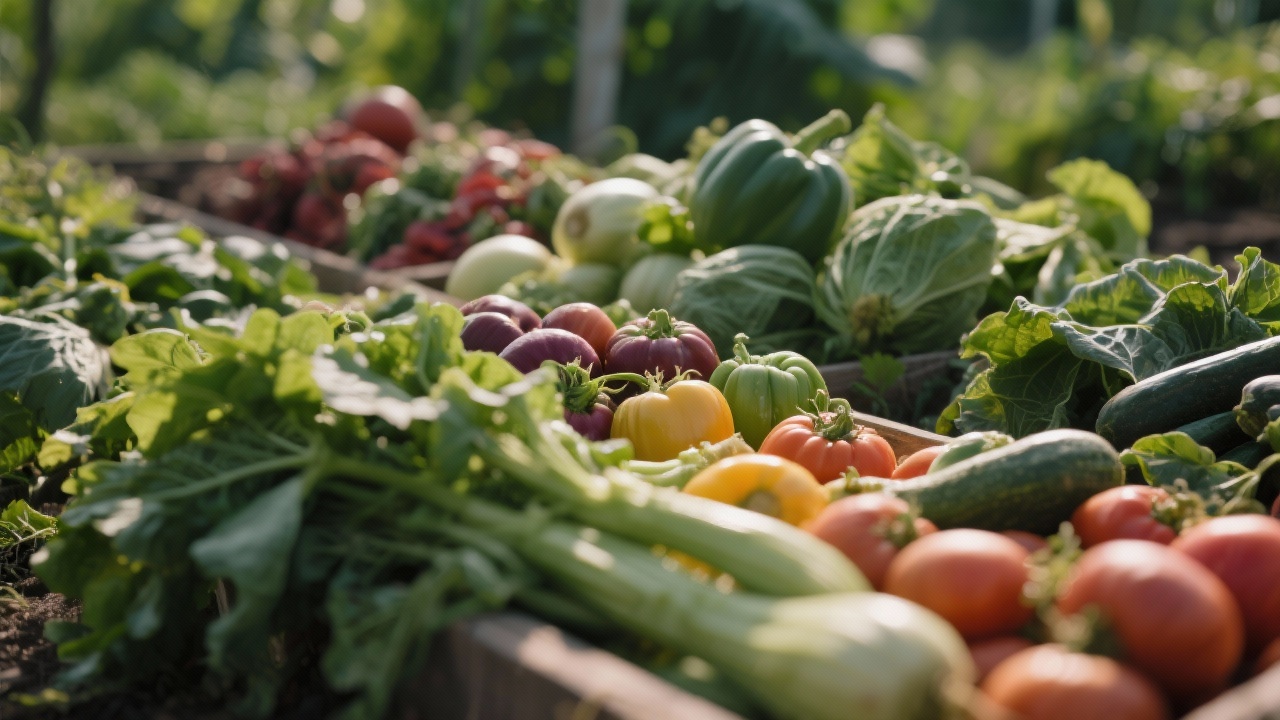
Harvesting Dill: Timing and Optimal Conditions
The ideal harvest of dill leaves begins approximately 6 to 8 weeks after germination, once the plant has developed several feathery fronds. The key indicator of maturity for fresh use is tender, aromatic, and vibrant green foliage. For the best quality, conduct the harvest in the morning after the dew has evaporated but before the sun's heat intensifies, as this preserves the essential oils. This practice, common in any well-managed vegetable garden, ensures peak flavour. Harvesting can be done progressively by cutting outer leaves as needed, which encourages new production. Following these principles of good agricultural practices helps secure a consistent supply of high-quality fresh herbs.
Harvesting Techniques and Post-Harvest Preservation
Use clean, sharp cutting tools like scissors to snip dill fronds at the stem, handling them gently to prevent bruising and subsequent oxidation. This careful approach, fundamental in organic farming, maintains the integrity of fresh fruit and vegetables. After picking, shake gently to dislodge any debris but avoid washing until just before use to prevent excess surface humidity. For optimal preservation, immediate cooling is beneficial. The best storage conditions involve placing the stems in a jar of water in the refrigerator or wrapping the fronds loosely in a damp paper towel inside a sealed bag. This maintains a low temperature (around 4°C) and high hygrometry, preserving freshness for up to a week.
Key takeaway
- Period : 6-8 weeks after germination
- Stage : Several feathery fronds, tender, vibrant green
- Method : Snip outer fronds at stem with sharp scissors
- Storage : Refrigerator (4°C), high humidity, up to 1 week
Culinary Delights and Flavor Profile of Garden Dill
Dill, a vibrant garden vegetable, offers a distinctive fresh flavor that elevates a myriad of home cooking creations. Its feathery leaves and delicate flowers are the primary edible parts, while the aromatic seeds provide a different, more potent culinary preparation. The flavor profile is uniquely fresh, with bright aniseed notes and a slightly tangy, green essence, contributing an almost ethereal lightness to dishes. Best enjoyed raw or added at the final stages of cooking, dill's delicate texture complements rather than overpowers. It shines in vegetable recipes, pairing exceptionally well with cucumbers, new potatoes, and leafy greens. For exquisite flavor combinations, marry dill with creamy dairy or plant-based alternatives like yogurt and crème fraîche, or with the rich depth of salmon, chicken, and eggs. Its fresh flavor is also a cornerstone in dressings and marinades, particularly alongside lemon, chives, and garlic, enhancing the natural taste of seafood and lamb without requiring extensive cooking; simply sprinkle generously just before serving to maintain its peak aromatic intensity.
Seasoning, Nutritional Value, and Storage of Fresh Dill
To perfectly season with dill, consider bright acidity from lemon juice or white wine vinegar, complemented by a drizzle of high-quality olive oil, a pinch of sea salt, and freshly ground black pepper. It harmonizes beautifully with creamy textures, be it sour cream, Greek yogurt, or plant-based alternatives, and a touch of Dijon mustard can further enhance its pungency. Beyond its exceptional flavor, dill contributes to a healthy diet, offering notable nutritional value with vitamins A and C, calcium, and iron, along with beneficial antioxidants. While generally safe for consumption, its flavor is most pronounced when fresh and diminishes significantly with heat; thus, adding it at the end of cooking preserves its delicate essence. For short-term storage, fresh dill sprigs keep well in the refrigerator, wrapped in a damp paper towel or with stems in a glass of water. For long-term preservation, freezing chopped dill in ice cube trays with a little water or oil, or drying the seeds for pickling recipes, are excellent methods. Though drying the leaves reduces their distinctive fresh flavor, it remains a viable option, and it's also a fantastic addition to lacto-fermentation for classic dill pickles.
Key takeaway
- Flavor Profile : Fresh, bright aniseed, tangy, green; delicate texture.
- Classic Uses : Best raw, or added at final cooking stages.
- Pairings : Creamy dairy, fish, potatoes, lemon, cucumber, eggs.
- Storage : Fridge (damp towel); freeze (oil/water); dry seeds.
Companion plants


