Garden Cress
Barbarea verna
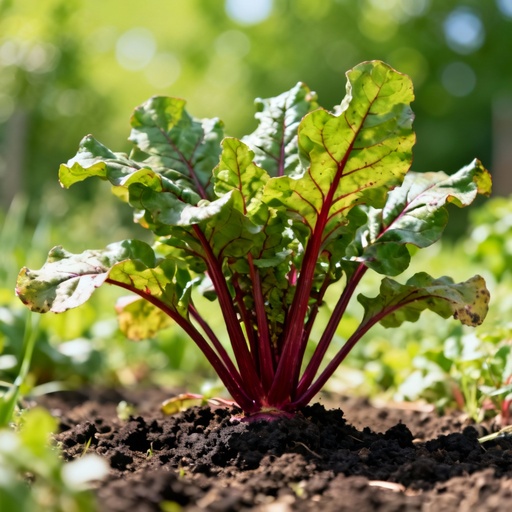
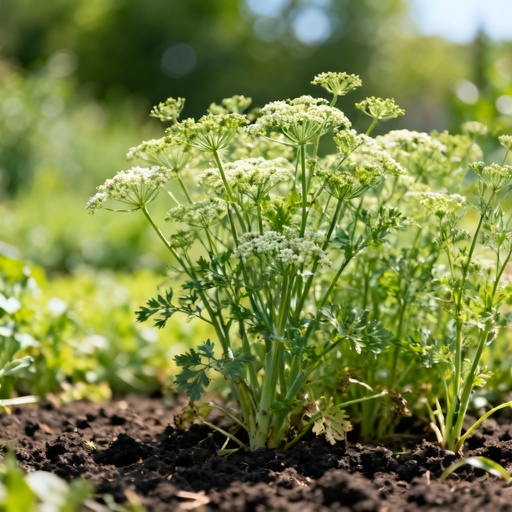
Land cress with pungent pinnate leaves, ideal for winter salads.- Rich in vitamin C and protective sulfur compounds
- Pungent flavor compared to watercress, perfect for winter
- Easy to grow in well-drained soil, no running water needed

Plant profile

Growing calendar


Growing tips
Preparation and Optimal Conditions for Soil Cress Seed Sowing
Sowing Barbarea verna (soil cress) is ideally done under cover or indoors, before planting in the vegetable garden. Prepare a light and well-drained substrate, made of quality horticultural soil mixed with a bit of perlite, which promotes root aeration and prevents asphyxiation of young plants. The soil temperature should be between 12 and 18 °C for regular germination and rapid emergence. Sow the seeds very finely at a depth of 0.5 to 1 cm maximum — barely covered with substrate — then maintain constant moisture through gentle daily misting. Avoid heavy watering that could drown the fragile seeds. Exposure to natural light or under a grow light accelerates emergence and strengthens young plants as soon as they appear.
Germination and Monitoring Until Transplanting
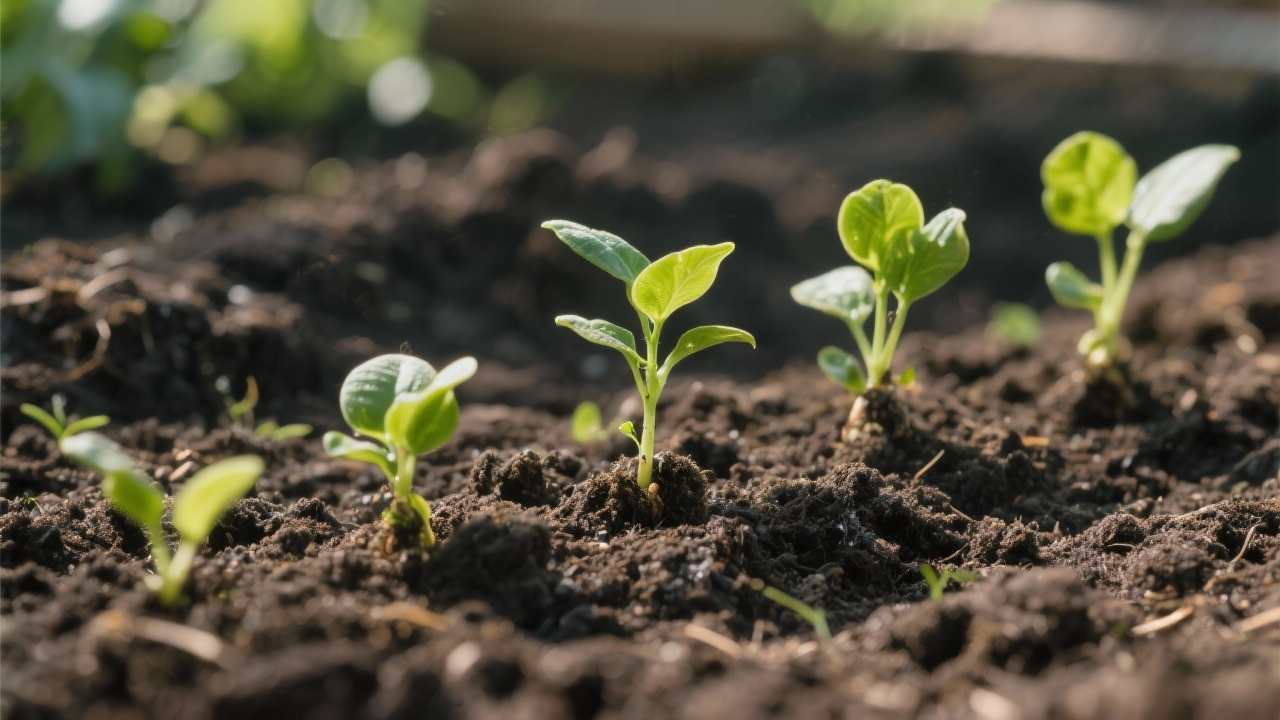
Expect 7 to 14 days of emergence under optimal conditions, with the first true leaf visible shortly after. During this critical period, maintain a consistent moisture level without excess to prevent fungal diseases. No special pretreatment is necessary for soil cress: the seeds naturally germinate. As soon as the first true leaves appear — recognizable by their characteristic shape, distinct from the cotyledons — the plants are ready for transplanting into individual pots. This step marks the end of the critical sowing phase and the beginning of the young plant's development, essential for successful organic or conventional cultivation in the garden.
Key takeaway
- Temperature: 12-18°C, constant and protected
- Humidity: 70-80% constant relative humidity
- Light: Partial shade to soft light, 4-6h/day
- Transplanting: 2-3 true leaves, about 15-21 days
Conditions and Preparation for Planting Garden Cress
Planting Garden Cress ideally occurs in late summer, when daytime temperatures are around 15 to 20 °C and the soil reaches a minimum of 10 to 15 °C, while avoiding any risk of late frost. To prepare your vegetable plot, start with careful weeding and deep loosening of the soil, then incorporate 3 to 5 cm of well-decomposed compost or enriched potting soil to structure the substrate and ensure good recovery. A few days before planting, gradually acclimate your young plants by exposing them to outdoor conditions for 7 to 10 days, limiting water stress and thermal shocks. Just before planting, proceed with root soaking by dipping the roots for a few minutes in a light mixture of water and fine soil, or simply in water, to promote soil adhesion and continuity of root contact.
Planting and Optimal Installation of the Seedling
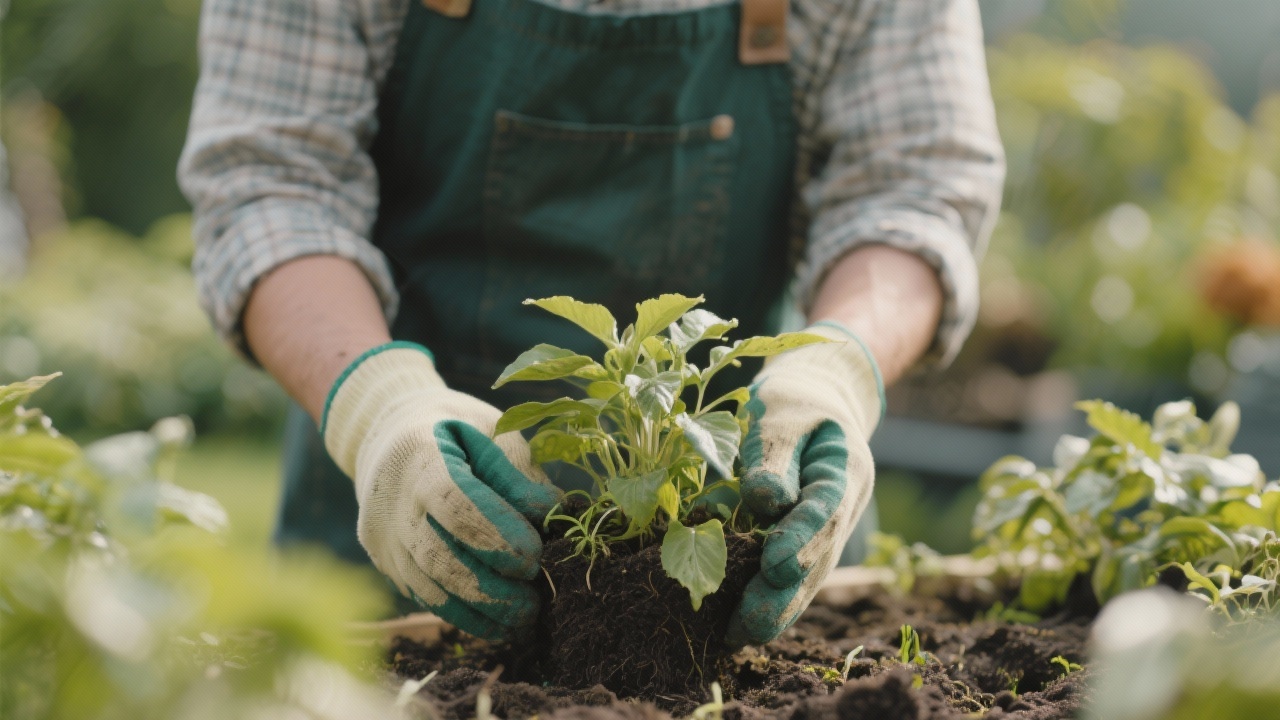
Plant each seedling at the depth of the crown, without pushing it deeper, then lightly firm the soil by hand to eliminate air pockets. Immediately follow with a generous watering in a basin to allow the substrate to settle well around the roots and ensure uniform recovery. Maintain a spacing of 10 to 15 cm between plants and 20 to 25 cm between rows to promote air circulation and limit diseases. Promptly apply a 5 cm organic mulch (straw, semi-decomposed compost, or plant mulch) around each plant, ensuring the crown is clear, to maintain soil moisture, regulate temperature, and reduce competition from weeds. In exposed or shaded climates, consider installing a fleece cover during the first two weeks to secure establishment.
Key takeaway
- Depth: Crown slightly above the soil surface
- Spacing: 10–15 cm between plants, 20–25 cm between rows
- Watering: Generous watering in a basin after planting, then regular
- Mulching / Protection: 5–8 cm organic mulch, ground cover against evaporation
Growth and Plant Vigor Management
Garden Cress requires regular and moderate watering, especially during dry periods: aim for about 20 to 25 mm per week, adjusting according to local climatic conditions and soil moisture. Prolonged water stress would compromise harvest quality and slow growth. Keep the soil consistently moist by applying organic mulch (straw, well-rotted compost) 5 to 8 cm around the plant, which regulates moisture and limits weeds. In terms of fertilization, apply a balanced organic fertilizer at the start of the growing season, then split applications with well-decomposed compost or organic fertilizer every three to four weeks to support vegetative vigor. Regular hoeing of the soil, especially after watering, promotes root aeration and facilitates the incorporation of nutrients. Ensure adequate spacing between plants to allow good air circulation and prevent damping off or rot.
Pest Protection and Environmental Balance
Regular monitoring of the foliage allows for early detection of common pests (flea beetles, slugs) and diseases (damping off, downy mildew). Favor an integrated protection approach based on prevention: avoid excess leaf moisture, ensure good aeration, and space plants properly. In the face of pests, first resort to simple measures (manual removal, water sprays) before considering organic solutions permitted in ecological cultivation. Climatic conditions strongly influence health: excessive humidity promotes fungi, while partial shading in summer protects against heat excess. Finally, applying a rigorous crop rotation (avoid brassicas in the same spot for more than two consecutive years) and smart associations with other vegetables limit the accumulation of specific pests and gradually restore the balance of your ecological garden.
Key takeaway
- Soil type: Rich in humus, Well-drained, Neutral pH 6.5-7.0, well-drained and rich in organic matter
- Maintenance: Light monthly hoeing, compost every 4 months, weed removal around the plant
- Watering: Keep soil moist, 20 to 25 mm/week, 2-3 times a week depending on temperature
- Preventive action: Organic mulch 5-8 cm, crop rotation, insect/bird netting
Maturity Indicators and Optimal Harvest Time for Garden Cress
Garden Cress reaches full maturity approximately 50-70 days after sowing, when the harvested organs exhibit their characteristic appearance and firm texture. The key indicator of maturity lies in the size and consistency of the consumed parts, without signs of softening. Harvesting is preferably done late in the morning, after the evaporation of overnight dew, when the leaves regain their balanced moisture. Ideal weather conditions correspond to a dry, temperate day, between 10 and 18 °C. This organic vegetable crop allows for a staggered and progressive harvest, generating a consistent yield of superior quality from October to March.
Cutting Techniques, Handling, and Optimal Preservation
Picking is done using a disinfected pruner or a sharp knife, ensuring that adjacent tissues are not damaged, which could promote oxidation and reduce the product's shelf life. The harvested parts should be handled gently and quickly placed in clean, ventilated containers, away from heat sources. A careful sorting eliminates any damaged or contaminated leaves, ensuring the homogeneity of the batches intended for storage. A rapid pre-cooling to 4 °C is beneficial for optimizing preservation. Long-term storage occurs between 0 and 4 °C, with a relative humidity maintained between 90 and 95%, allowing for optimal preservation. For short transport to the vegetable garden or point of sale, using ventilated containers and quick delivery preserves the freshness and nutritional qualities of fresh vegetables.
Key takeaway
- Period: 50-70 days after sowing, from October to March
- Stage: Dark green pinnate leaves, dense low tuft
- Method: Cut leaves 2–3 cm above the ground for regrowth
- Storage: 0-4°C, 95% RH, 4-6 days
Taste Profile and Culinary Preparation of Garden Cress
Garden Cress is distinguished by its dark green, aromatic pinnate leaves, true stars of the modern vegetable garden. Consumed raw or cooked, they offer a peppery and lively flavor, with a particularly appreciated texture. In home cooking, this garden product excels when prepared in classic ways: Winter salad, sandwich, soup, omelet. The flavors harmoniously pair with the following: Egg, beetroot, fresh cheese, lemon, walnut oil. In raw dishes, the young shoots benefit from being simply prepared with a drizzle of oil to reveal their naturally fresh texture.
Seasoning, Nutrition, and Preservation of Garden Cress
This ingredient for plant-based recipes is subtly enhanced with a touch of olive oil or fresh lemon juice, complemented by aromatic herbs. Rich in vitamins and minerals, it constitutes an interesting nutritional base. Short-term preservation is done in the refrigerator for a few days. For long-term preservation, prefer freezing after a quick blanching when suitable, drying, or other traditional methods. Although often consumable raw, brief cooking can improve digestibility depending on usage.
Key takeaway
- Taste Profile: Peppery, spicier than watercress
- Classic Preparations: Winter salad, sandwich, soup, omelet
- Winning Pairings: Egg, beetroot, fresh cheese, lemon, walnut oil
- Preservation: 0-4°C, 95% RH, 4-6 days
Companion plants